Masting Your Photography Storage Workflow: A Comprehensive Guide to Backup Strategies for Photographers

I. Introduction
When you are learning photography, you are learning light, your camera, editing, and maybe even business and marketing. But protecting your work is an important part of being a photographer. A reliable storage workflow gives you peace of mind that your data is protected and saves you time at all stages of your work.
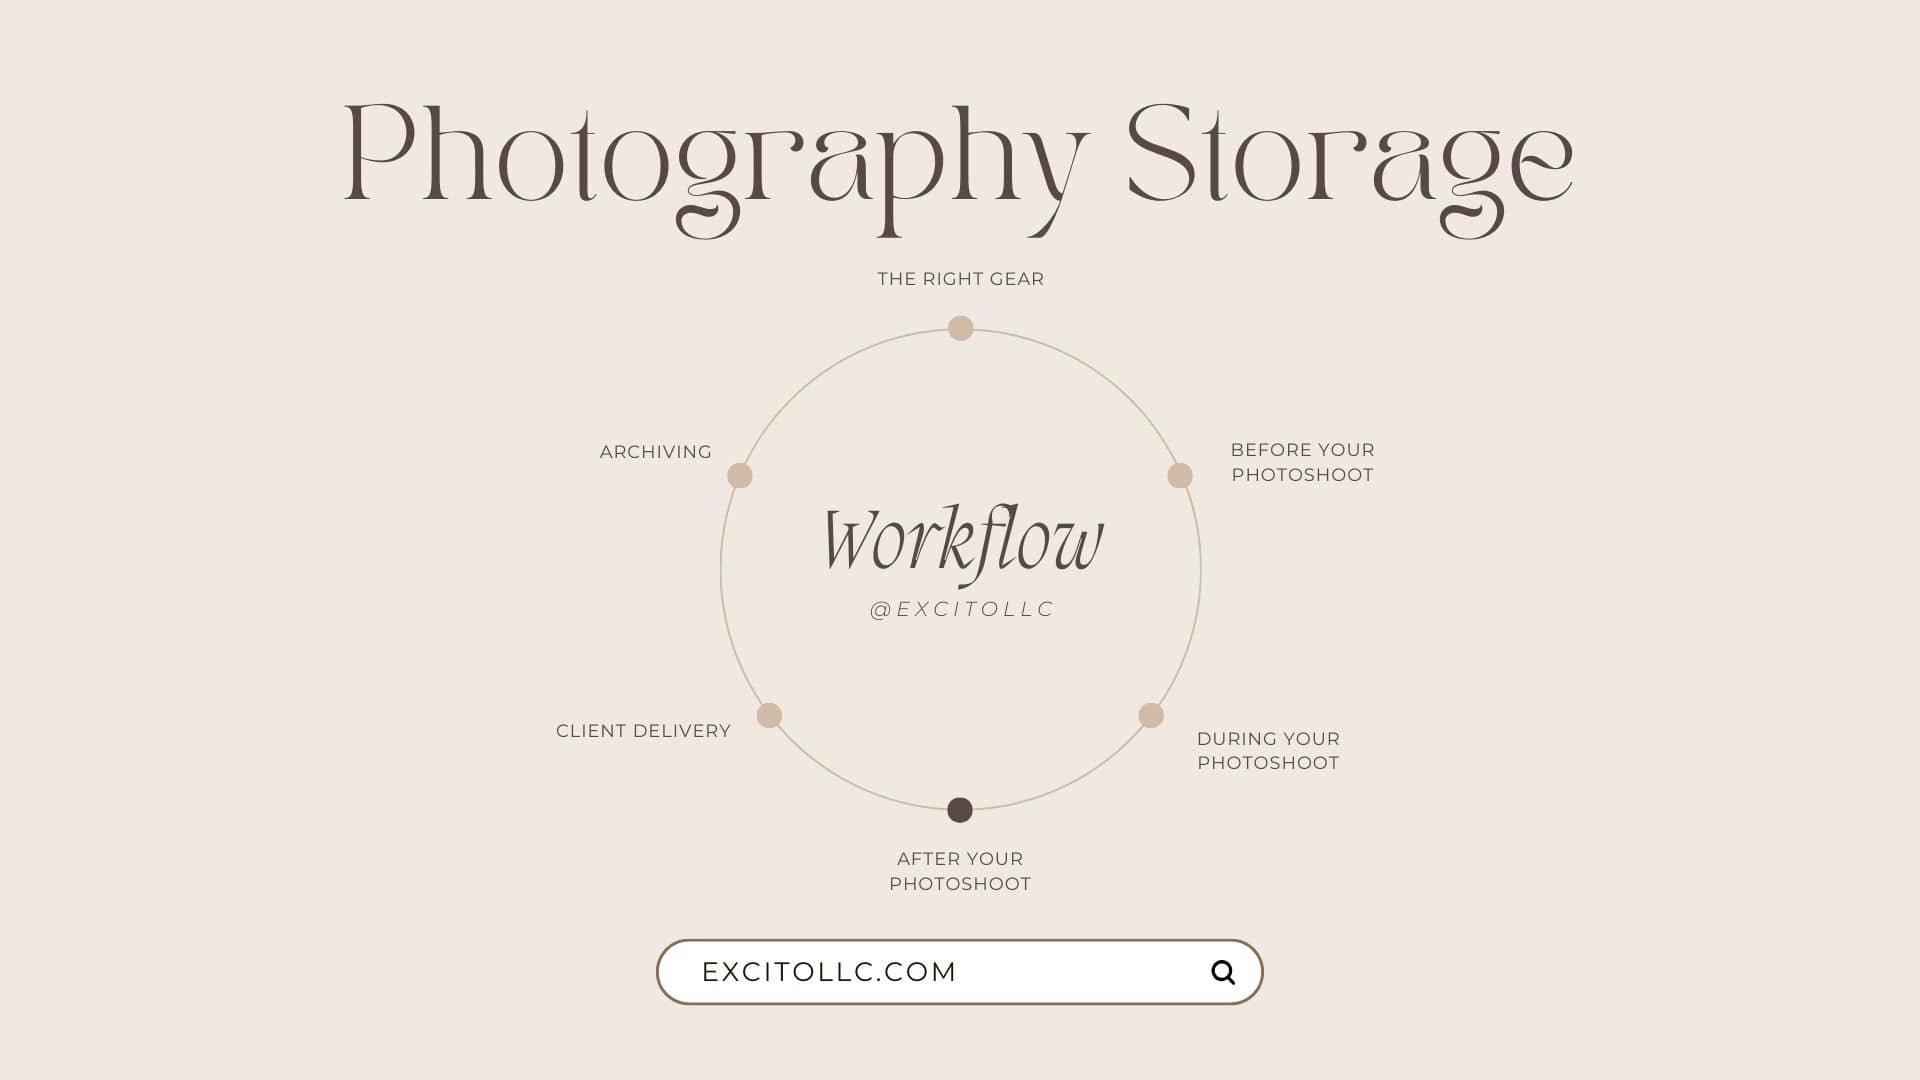
In this article, we cover how to store and keep secure your photos as a photographer from before your photoshoot to after client delivery. We will cover the workflow or steps to take regardless of the level of backup strategy or backup devices. We will cover the storage workflow and backup strategies through your creative process, but it is all working toward achieving the 3-2-1 strategy. In our 3-2-1 backup strategy for photographers article, we introduced the 3-2-1 rule and how you can achieve it with your budgets and needs at whatever level you are currently at.
You will want to have ready and implemented some version of the 3-2-1 backup strategy. Then as you follow along in this article, you can see how to connect your 3–2-1 backup strategy with your creative workflow.
In this article, we will be covering strategies for creating the most redundancy and security. You don’t have to do it all. You can pick and choose the parts you want to enact.
II. Shopping and Gear Acquisition

A seamless workflow begins with the right gear. Acquiring reliable equipment simplifies your tasks and also minimizes potential hassles. A universal principle underscores all workflows, strategies, and requirements: invest in dependable technology.
Opt for purchases from reputable and trustworthy brands, understanding that while professional-grade items may incur a slightly higher cost, they ultimately save time and money due to their lower failure rates.
Do Research and Avoid Recalls
Watch out for recalls, even when dealing with reputable brands. Conduct a quick Google search before committing to a device and steer clear of models associated with reported issues (for example, at the time of writing, Nov 2023, Sandisk, a brand trusted by many professional photographers, is currently facing some widespread unresolved issues with its latest SSDs). While reliable brands usually offer replacements for problematic devices and comprehensive warranties, a brief pre-purchase search can spare you potential hassles down the road.
Gear Recommendations

Camera Body
Lean toward a camera body that has dual memory card slots. This adds a layer of redundancy from the beginning when your data is the most vulnerable. This is much more important if you are being paid as a professional and/or being trusted to capture one-time moments.
Storage Devices
Especially if you are new or growing, consider investing in gear slightly above your current requirements. It’s better to have extra than not enough. You don’t necessarily need to acquire the most expensive devices with the highest capacity (unless your budget allows or you desire to), but opting for storage beyond your immediate needs provides room for future growth and reduces the frequency of device replacements as you outgrow them.
Assess your current needs, determine your upgrade frequency preference, calculate your estimated requirements for that period, and then include a little extra. It's also acceptable to start with what you can afford and upgrade later, particularly if you are just commencing your journey and anticipate future earnings, allowing you to delay immediate upgrades.
Gear Organizers
This one might not be the first to come to mind, but get a few organizers for your gear. Having organizers to separate memory cards into used and ready-to-go or by client project, can be a small expense that makes your life a whole lot easier.
You can also add another layer of protection by buying storage containers, like memory card cases, that are drop-protected and water-resistant. You can even consider these factors for items like your backpack, gear cases, and luggage.
II. Pre-Photoshoot Preparation

Before you head out for a session, check and make sure you have packed the necessary storage devices. This means checking to make sure you have enough memory cards. (I also like to always pack extra cards in case other photographers are running low.) Make sure these cards are good and ready to go. You don’t want to be figuring out if the card has been backed up mid-photoshoot.
Tip: I actually like to do this prep immediately following the ingesting and backup steps of my previous photoshoot. I reorganize my memory card cases and re-pack my bags right after I finish importing. (Sans the cards I have set aside as an additional backup - more on this later). This way, if I am ever running late or inspiration strikes at a moment's notice, I can be up and out the door with an organized bag.
For larger or longer shoots (I used to photograph dance performances that had multiple showings a day or when I was photographing seniors and doing chains of sessions), I like to have external drives with me so that I can back up my photos in between sessions. That way I had more redundant copies sooner.
III. During the Photoshoot

Shooting on Multiple Cameras: Sync Your Clocks
This is not exclusively a storage tip, but it will make managing our photos and data so much easier later. If you are photographing on multiple cameras or with multiple photographers, make sure the times are synced on your cameras, otherwise, the photos won’t show up in the correct order when you aggregate the photos from across the cameras. It is possible to change the time in Lightroom and related software, but it’s a whole lot easier to check this beforehand.
Shoot Redundant with Dual Card Slots

If you have a camera that has dual card slots, shooting redundant is a great way to add a layer of security and redundancy without much extra effort. This is often the most critical part of your workflow (since your data has not yet been backed up). This will store a copy of each image on both cards. That way if something happens to one card - it corrupts, gets lost, gets damaged - you have another copy and the whole photoshoot is not lost.
If you don’t have dual card slots in your camera, but it is important not to lose any data, you may want to ingest/import your data between sessions so you can get copies on multiple drives as soon as possible.
Put a Card in Your Pocket
Okay now you have at least one card with your photos, ideally two. Keep one in your pocket or the safest location you know. If you have two cards with the same photos, put one in your pocket and the other in your bag. Do your best to have the same system regardless of the shoot, and then it can become a seamless habit (second nature).
This way, your photos are not lost if anything ever happens to your bag. And even if nothing happens to your bag, you are less likely to misplace your SD card.
But make sure to take it out as soon as you get home and start importing. We don’t want them to end up in the laundry.

Keeping It Organized
If you are taking a lot of photos in consecutive sessions and going through multiple cards, it can be helpful to keep a card case or organizer on your person. In smaller sessions, I would carry an SD case where one side was for ready-to-go cards and the other was full/used cards. For larger sessions, I would carry two SD cases, one with ready-to-go cards and the other with full cards.
IV. Post-Photoshoot Organization
A. Offload ASAP
Offload as soon as possible. Many photographers say to always back up first thing when you get back. Don’t wait. This just minimizes the chances of anything happening, like losing your SD card.
This means copying your images from your cards to your working drive (your main drive that you edit from, whether that be your laptop, an SSD, or a NAS) and potentially even starting your backup procedures (we will cover that more in the next section).
I like to start backing up as soon as I import and save secondary preview generation for after all my cards are imported.

B. Importing and Initial Sorting
This step depends on your editing software and organization preference.
How you choose to organize your files, organize your catalog, and cull your photos falls out of the scope of this article, but keep your eyes peeled for an upcoming article that will cover these topics.
Lightroom Import Features: File Renaming and Destination
I like to use Lightroom Classic to ingest the photos from my cards. Through its import dialog, I can set up how it organizes files into the destination directory. This makes it easy for me to later use software to replicate the files to backup drives.
I personally have it organized by date and rename the file by Date - Filename. This makes it easy for me to avoid collisions and divide the files into smaller folders. However, this does mean the organization in folders is not indicative of session, client, or genre - I rely entirely on Lightroom’s catalog features to handle that. You might prefer something different.
Lightroom Import Features: The Make a Copy Feature
This is not a backup solution, it is just a little extra safety until you complete all your backup steps.
I also use [Lightroom’s “Make a Second Copy” feature](https://helpx.adobe.com/lightroom-classic/help/photo-video-import-options.html#:~:text=If you're copying or,To and specify a location.) in the import dialog to make a second copy on an SSD while I am away from the house or on my computer if I don’t have any drives on me. If I copy to a drive it is at least on two media. This is great for when I am importing on-location when I have lots of sessions as I mentioned before. Creating a second copy to my computer, won’t protect against anything happening to my computer, but it will at least create a copy to safeguard if one corrupts or is accidentally deleted (but it can quickly eat up storage space).
And as we mentioned before, we are still keeping a copy on the memory card. This way we have three copies of our photos ASAP, sometimes even on location. This is not the full 3-2-1 rule but it is a whole lot better than having only one copy.
Lightroom Import Features: Build Smart Previews In Lightroom Classic
Here is another easy tip, and many of you are probably already doing it. If you use Lightroom Classic and you are syncing your catalog with Lightroom CC, Lightroom will do this automatically. You can click the checkbox to create Smart Preview during importing or you can build them for existing photos in your library. However, this will take up some storage on your main editing drive - that is the drive that your Lightroom catalog is stored in, so likely your computer drive.
But did you know that Lightroom creates versions of your photos up to 2500px long when you create Smart Previews? These are stored on your computer, but if you sync to Lightroom CC, they also sync to Adobe’s cloud and these previews do not use your storage quota. Now I wouldn’t count this as a backup solution or layer, but it does mean if all your other backups disappeared you would still have a (albeit potentially smaller) version available. And sometimes exporting that smaller version is okay anyway.
Lightroom Bonus: Editing On The Go with Smart Previews
There is also a setting in Lightroom that allows you to edit from your Smart Previews. This allows you to edit your photos without connecting the drive that stores the photos. You will still need to connect the drive when exporting to get a full-resolution export. But this is great for editing on the go.
Save Your Importing Settings
Lightroom and other software have the functionality to save your import settings as a preset (Lightroom settings info). After you figure out your preferred options, save it as a preset for quick use next time.
C. Added Peace of Mind: Keep Your Card
When you import, don’t move the files, copy them. And when you are done, don’t erase or reformat your cards just yet. Instead, put them aside in a container or organizer reserved for current and ongoing projects. I have seen other photographers use little grid organizers and/or sticky notes to indicate the client associated with each card. Keep these separate from your main stash of memory cards.
This does mean you might need more cards because some of the ones you have will be unavailable while the project is still ongoing, but it means you have an additional copy of your data. Even when I implement the full 3-2-1 data backup strategy, I still follow this tip of keeping the data on the card because it is so effortless.
I also really like this tip because it typically ensures you have two copies in different locations. If I am out traveling and one of the copies is on a working drive that I carry in my backpack, I can leave the card copies in my hotel and vice versa. That way if something happens to my backpack, there is a safe copy somewhere else. This is especially useful because hotel WiFis might not be fast enough to effectively back up wirelessly for an offsite copy.
Pair this with the second copy strategy we discussed earlier and now you have a 3-2-1 strategy on the go.

What to do with your other card when you have 2.
If you have 2 cards with redundant copies, you can keep one after you have ingested and made a backup and reformat the other (or just put it in the ready-to-use stash).
I would keep both until you have made your backups.
I don’t have enough cards to spare to do this.
If you absolutely need all your cards and don’t have extra to allow you to set some aside, then I would recommend at least waiting until you have backed up your photos using the 3-2-1 strategy - at least 3 copies, 2 different media or drives, and 1 offsite.
V. Post Photoshoot Backup Strategy
I like to start backing up my photos as soon as I import them (because Lightroom’s import features help organize my backup structure), others like to have it automated at the end of the day, and some like to back up their photos first and then import them.
The point of this section is to say, you want to start backing up as soon as possible.
Now is when you would back up your new photos according to the 3-2-1 backup strategy that you have implemented.
You want to make this process as easy as possible for yourself, that way you stick to it and you don’t forget to do it. The best backup strategy is the one you stick to. You can make this easier by making it a simple and easy process or by automating it.
VI. Editing Process
Because this is a storage-focused article, we are not going to cover much about how to edit, but I will include some storage tips for editing.
Lightroom: Use Smart Previews
Smart Previews allow you to edit without the drive connected that contains the file. This is great if your main working drive is a NAS or an external SSD and you are the go.
You might notice slight differences in how the photo looks during editing, so it is up to you if you prefer doing this or not.
Does the Drive Affect Editing Efficiency?
ArtIsRight has an excellent video comparing SSD speeds for Lightroom. In general, if you are using a reliable SSD, it won’t affect the speed of Lightroom editing and exporting. But it may affect the speed of your storage backup process or ingesting workflow.
VII. Client Delivery
Okay, you are done editing and you are ready to send your clients the photos…. How exactly do you send your clients the photos?

1. For Beginners: Quick Sharing Options
Many photographers start out sending their photos with a cloud storage service they already use.
Apple Photos: Seamless for Apple users, allowing easy sharing and collaborative albums.
Google Drive: A versatile cloud storage solution, suitable for sharing high-resolution images.
Dropbox: Efficient for sharing large files, and creating a collaborative space for clients and photographers.
Amazon Photos: Secure cloud storage with photo-sharing capabilities.
When I first started, I would send them over Google Drive, but there was very limited capacity. Later on, I sent them over Apple Photos/iCloud, because I had 2 TB of storage (paid plan), I could just import them to my photos app on my Mac, and then text the photos over (or send a link over email).
But it is a good idea to level up your system if you are doing this professionally.
2. Dedicated Client Delivery Tools
These online platforms are designed for seamless client interactions and make your business look that much more legit (professional):
Pic-Time: A user-friendly platform offering galleries, client selection, and print ordering.
Pixieset: Ideal for photographers with diverse needs, offering client galleries, photo delivery, and online sales.
Smugmug: A comprehensive solution for storing, sharing, and selling photos with customizable portfolios.
Zenfolio: Known for its simplicity and e-commerce capabilities, making it easy to showcase and sell your work.
Shootproof: A versatile platform with client galleries, print sales, and studio management tools.
Comparison and Limitations
When making your choice on which to choose, consider the nuances and limitations of each method. Consider:
Security: Prioritize platforms with robust security measures to protect your clients' sensitive data.
Reliability: Choose methods with proven reliability to ensure a smooth and timely delivery process.
File Format Considerations: Be aware of format limitations, especially when sharing through cloud-based platforms.
Bonus Tip: Keep a Backup of Your Exports
I personally also archive exported photos. This means you will be storing a little bit more data, but JPEGs are typically smaller than RAW files, and the final photos are typically a fraction of the initial photoshoot, so it is only a little bit of extra data to store.
I do this because it can save valuable time when revisiting old photoshoots. If a client wants me to resend their photos or I need to pull up some past work for a new project or update my portfolio, it is much faster to copy over the final set of exported JPEGs than find it in Lightroom and re-export.
VIII. Archive and Long-Term Storage

Now you are done with a project, congratulations! If you followed the steps above, your photos for that project are already backed up because you backed them up around when you imported them. If they aren’t yet, now is the time to back them up. You also may have kept a backup of your final exported edited images.
If you have a working drive (whether that be your internal computer drive or a primarily SSD, and you have limited storage, then if your photos are backed up according to the 3-2-1 principle excluding your working drive, then you can delete the copies on your working drive.
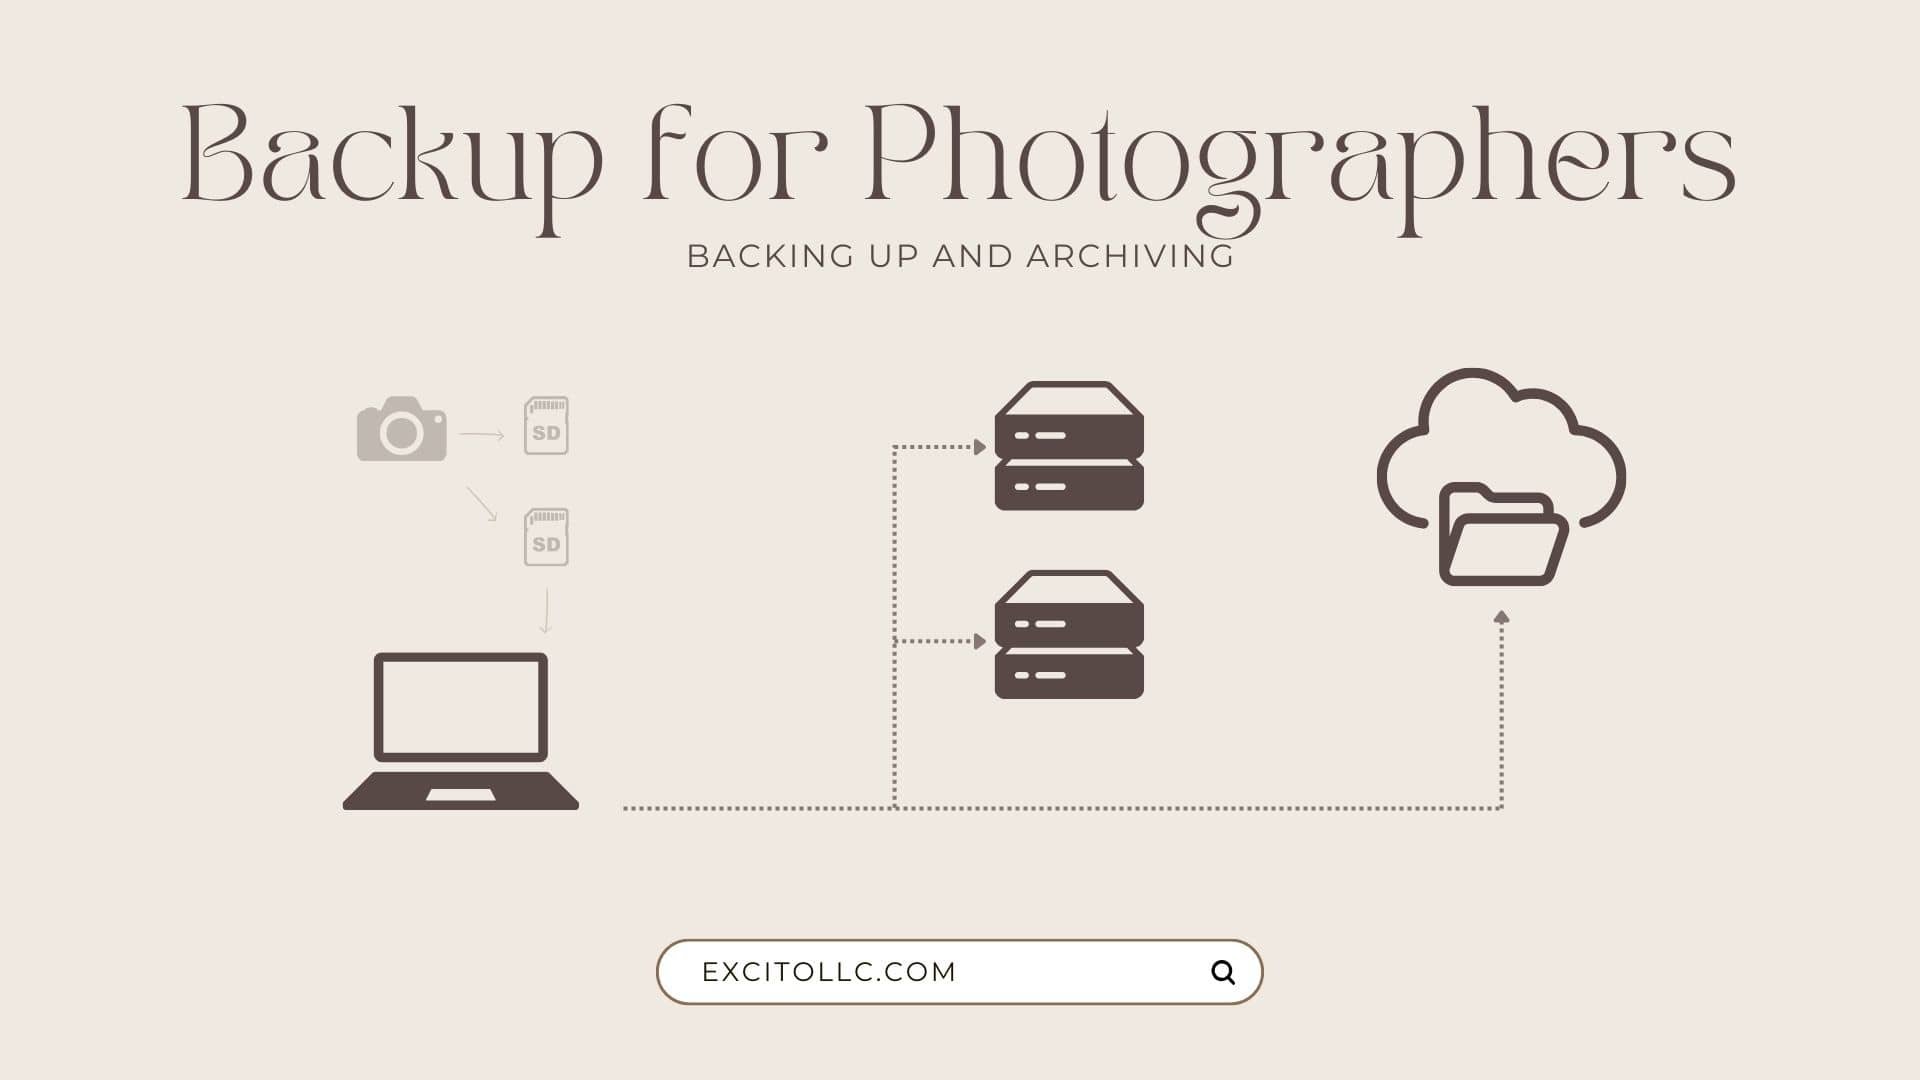
Note that I do not mean deleting them from Lightroom. I mean deleting the files outside Lightroom. In my workflow, I have my photos on my working drive (my laptop), and backed up to two other backup drives, and with a cloud backup - so at this point, I have 4 copies. (For those 2 extra drives, one is a massive desktop hard drive, and the other is either a smaller hard drive or an SSD depending on the recency of the project.) So I can delete the copies on my laptop and still have 3 copies that adhere to the 3-2-1 principle.
When you delete your copies from your working drive (NOT Lightroom), the next time you open Lightroom, it will show a file missing warning when you try to export those photos or on the left in the folders section. You can then relocate the file and point it to your secondary drive, where one of the copies of your photos is.

IX. Conclusion
Congratulations on making it to the end of this guide. You have discovered numerous steps you can take throughout your workflow to safeguard against mishaps and protect your data. You can now rest a whole lot easier at night knowing your data and your clients’ photos are safe.
Remember these are just potential strategies, you don’t have to implement them all. But I am a little bit of a data hoarder and I personally do, and I can say as you systemize it, you can make it effortless.
If you have any strategies that you think should be added to the article, comment below or send me an email: contact@excitollc.com.
Let me know how many of these you are already doing or if there were any that surprised you. And share this article with any photographers you know who need to step up their data safety practices.
Read Next: The 3-2-1 Backup Strategy for Photographers
Feedback / Share
If you found this post insightful, why not share it with your network on social media? You might just help another entrepreneur make an informed decision about their website design.